Replacements are a great way to apply consistent styles to any number of occurances of a word (or a number of words) across the whole site and to make editing the styles a breeze. They also offer a great way of adding consistent icons to your content without repeating the required code over and over again.
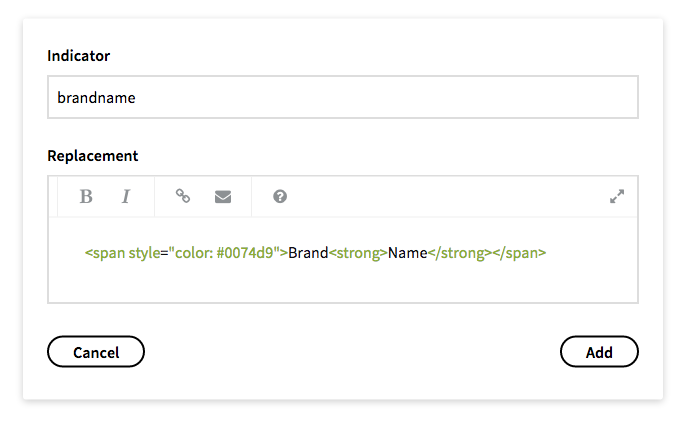
Let's say you have multiple occurances of your brands name in your content and you want to add a destinctive style to them so every mention of the brands name looks like BrandName. This style is created by adding <span style="color: #0074d9">Brand<strong>Name</strong></span>. While surely you could just add this code everywhere your brand name should appear, using a {{brandname}} Replacement has some advantages.
Say you want to change the style of your brand later on. Without the use of a Replacement, you'd have to find every single occurance of the code and replace it with the new one. This can be quite time consuming and frusttrating. With a Replacement however, all you need to do is to change a single Replacement definition and all occurances of your brands name are updated automatically for you.
Prepare a Replacement
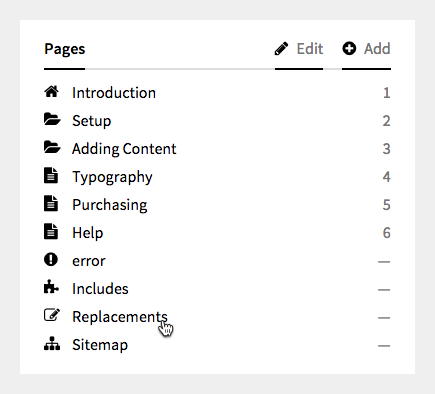
First you need to set up your replacement or, in other words, make it known to kirbyBOOK. From your sites Dashboards Pages section navigate to Replacements.

From the Add your Replacements section, choose Add to create a new replacement. Add a replacement indicator and your replacement text. The replacement text can include any markdown or HTML formatting you'd like.

One thing to note: after defining new replacements make sure to scroll down all the way to the bottom of the page and hit that big Save button. Otherwise you newly added Replacements may be lost.
Add a Replacement to Your Content
After setting up the replacement you're good to go to use it within your content. Just add the replacement indicator (wrapped with curly braces) averywhere you want your styled brand name to appear: {{brandname}}. kirbyBOOK will handle replacing the indicator with the actual code for you.